RX pre-amp
08/06/2020
Assembling is done till a certain point.
Still waiting for the ferrite and magnet wire.
From PI4CC you will receive 10 pcb pieces for the pre-amp so I orderd the parts for 10 so I have 1 pre-amp in spare.

Picture below is the almost completed pcb’s.

View from the back

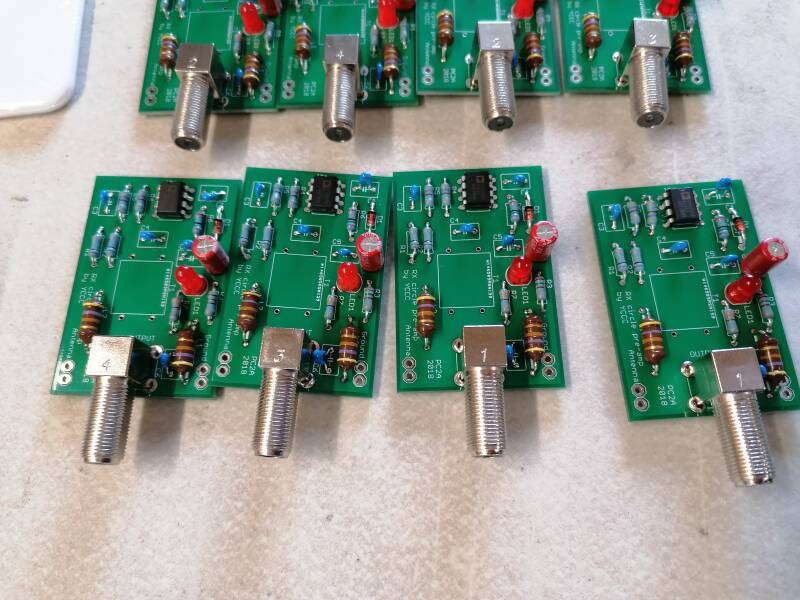
I chose to use red colored LED because the system is used when it is still dark
outside and RED is in my opinion the best to notice in the dark.
I am using enclosures with a transparent front so I can see the LED light.
The F connectors are down because that will be installed at the bottom of the enclosures, mainly to keep the moisture out of kabel, box and connector.
18/06/2020

13/08/2020
Winding the transformers are not the hard.
This is how the finishing amp’s looks.


My email is my call (at) telenet.be
Create Your Own Website With JouwWeb